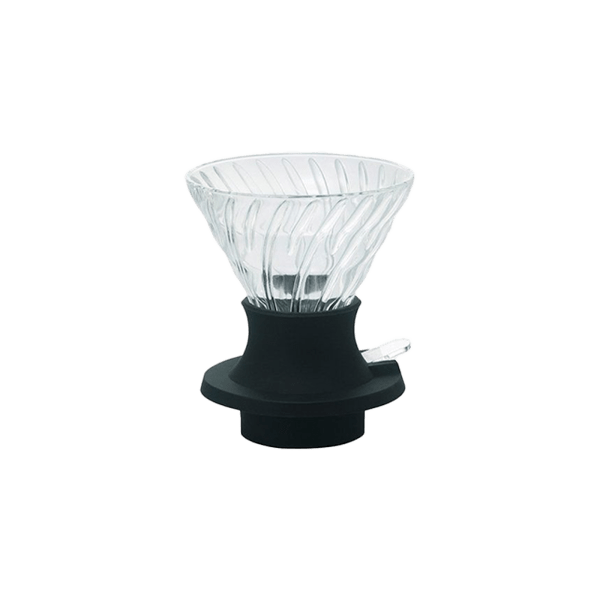
Released by Hario in 2019, the Switch allows for pour over and immersion brewing – all in one handy device.
The Hario Switch is essentially a V60 dripper with an actionable switch that controls the flow. When the switch is off (open), the water runs just like in any other pour over brewer; when it’s on (closed), the base hole is completely closed, retaining the water and activating the immersion brewing mode.
You can use it as one or the other, or experiment with hybrid combinations that result in different body and flavour profiles. It’s perhaps because of this feature (and the creative possibilities it brings) that the Switch has become a popular device in Brewer cups and Championships.
Our recipe below is loosely based on the Coffee Chroniclers’, but we’ve simplified it. We’ve also adapted the ratio, pouring structure, and immersion time to suit our taste and roasting style.
Method for Hario Switch 02 (makes ~2 cups)
Gear
• Hario Switch 02 dripper
• Hario V60 02 paper filter
• Server
• Scales
• Grinderℹ︎
• Kettle or alternative source
• Timer
• Stirring tool
• Mug(s)!
Goods
• 15g of coffee beans
• 250g (mL)of just-boiled water ♨︎
• Extra water to rinse the paper filter
ℹ︎: If you don’t have a grinder, that’s OK! You can always use pre-ground coffee, though we recommend freshly ground because it does elevate the flavour of each brew.
♨︎: In our recipes, we measure water in grams because we use scales, and it’s easy to achieve precision this way. However, if you don’t have scales, the conversion is easy: 1g=1mL.
Steps
-
Fold one V60 filter paper, and place it into the Hario Switch.
We’re using the 02 size for both. Make sure your Switch dripper is sitting on a mug or server that will contain the whole brew.
-
Rinse the paper with hot water by pouring onto the folded tab to ensure the paper is as flat as possible. Don’t forget to discard this water.
Rinsing may get rid of any papery taste, and also pre-warms the dripper and server/mug.
-
Grind 15g of coffee beans and put them in the filter.
Gently tap the side of the Switch to settle the grounds into a flat bed. Place everything onto the scales (if you haven’t done this yet) and tare to 0.
-
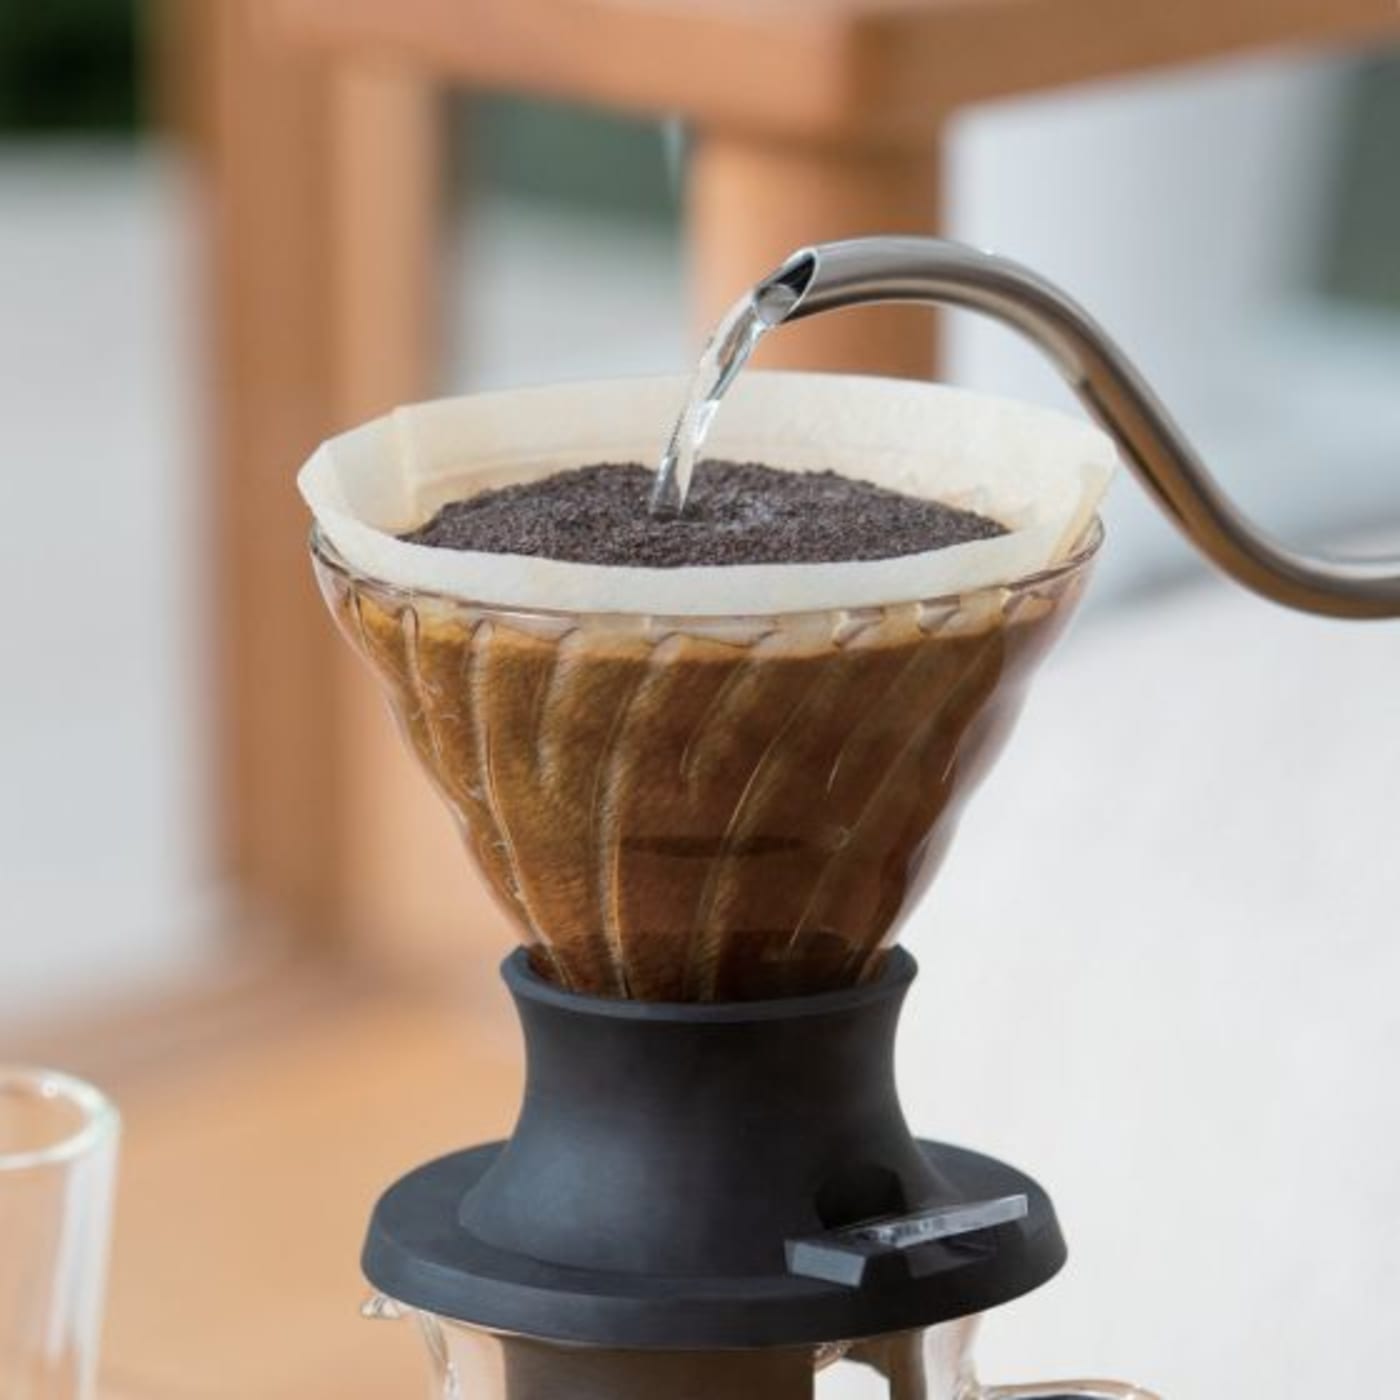
Flick the switch to open (pour over mode), and pour 150g of water just off the boil. Stir or swirl gently, and let it drip for ~1 minute.
This initial step is called ‘bloom’. It helps to release the gases trapped in the beans (due to the roasting process) and hence to achieve a cleaner and more even extraction.
-
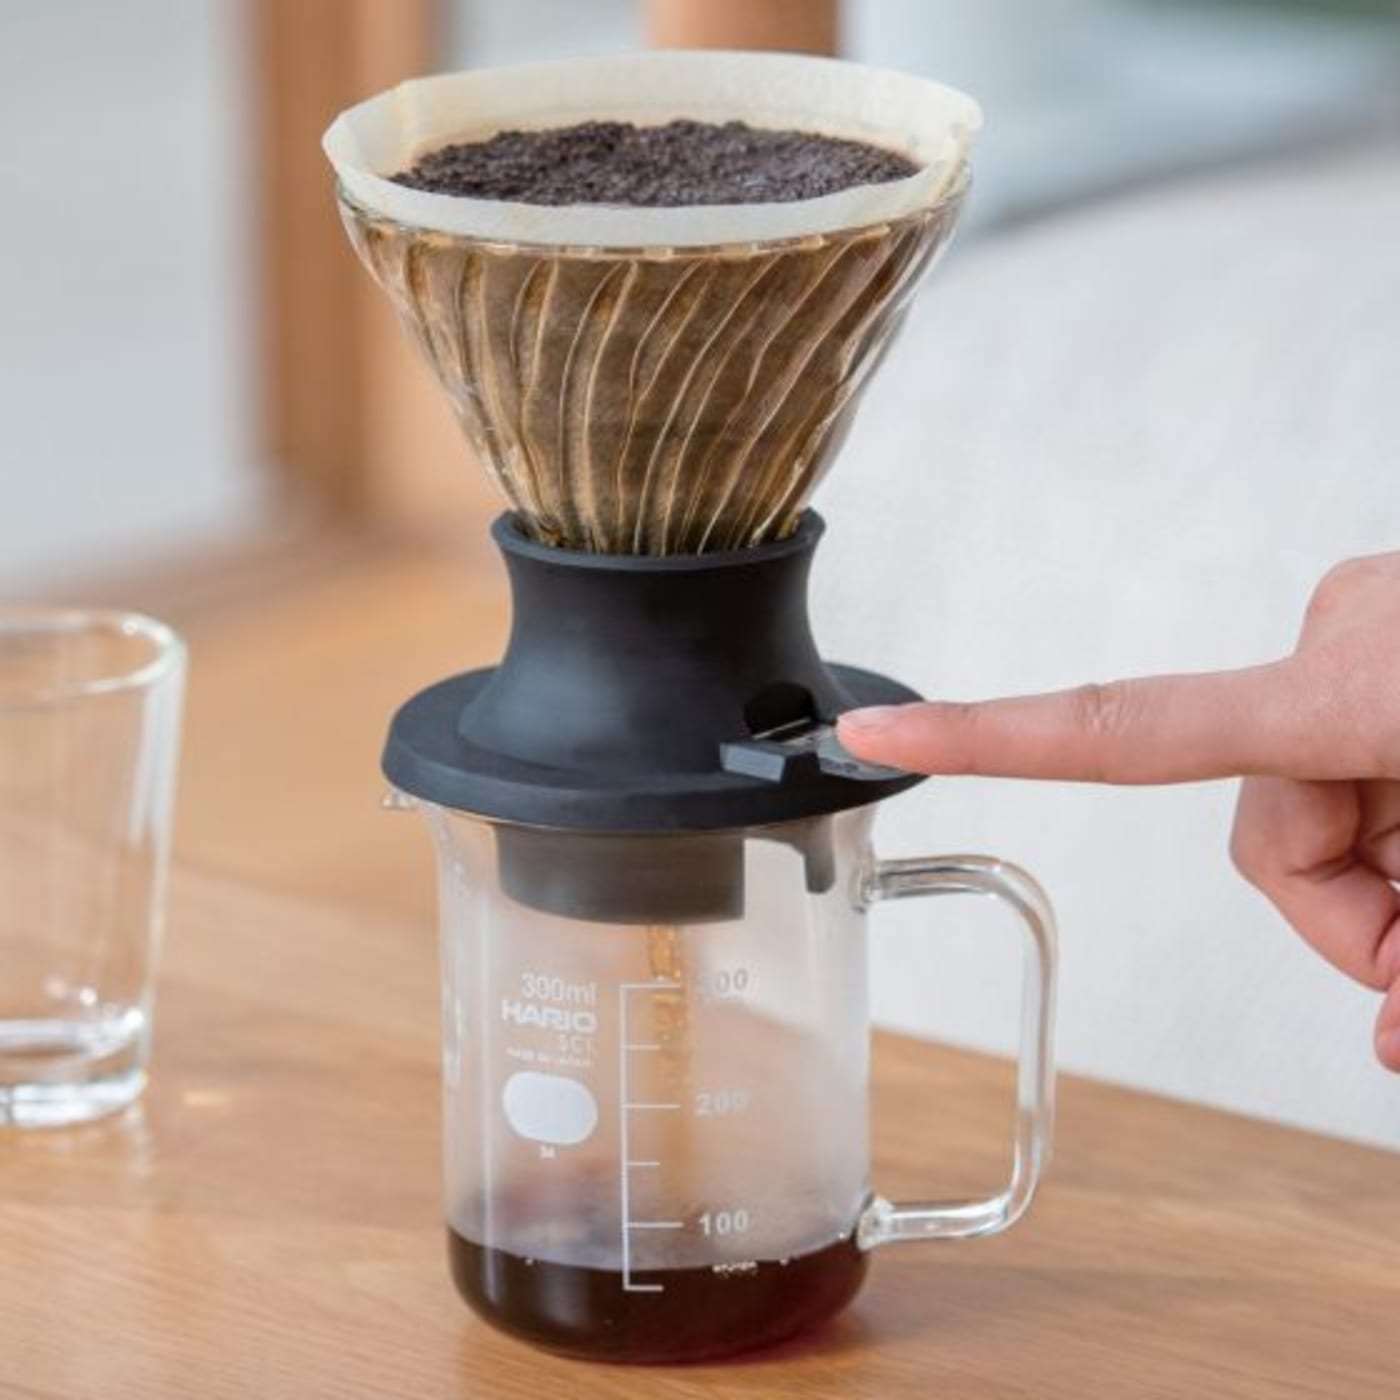
Flick the switch to closed (immersion mode), and pour 100g of water, evenly saturating all the grounds in and around the filter surface. Wait for ~1 minute.
This step impacts the body and sweetness of the final brew. Longer steeping time will bring richer taste and rounder, bigger body.
-
Flick the switch to open (pour over mode), and let it drip completely (it should take ~3-3.5 minutes).
The bed of coffee grounds should be flat; this is normally a sign of even extraction.
-
Once the brew is complete, lift the dripper and dispose of the filter paper and grounds. Swirl your server to mix the brew, and serve.
A gentle swirl will mix and aerate the whole coffee brew.
-
Enjoy!
Let us know how it went, and if you have any personal tips and tricks for this one!
Notes and tips
1:16.7 beans:water ratio
We use the same ratio as for V60 as a starting point. You’re always welcome to experiment with the dose to achieve different results
Adjust immersion time to change body and clarity.
Try <1 minute immersion time if the cup is lacking clarity and tastes bitter. Go >1 minute if the coffee tastes light and thin.
Play around and experiment.
We always recommend fiddling with all variables (dose, water quantity, times) to notice any changes and find your favourite spot. Also, while our roasts are pretty consistent, every coffee has its own particularities; be open to change!