The AeroPress is the ultimate in go-anywhere, no-fuss filter coffee making—but that doesn’t mean there aren’t endless variations in how to use it.
This recipe quite literally inverts the AeroPress, so no water drips through the filter until you’re ready.
You’ll get a slightly different flavour because this leaves more water during the immersion stage of the brew, before pressure forces the water through the coffee grounds and filter.
Here’s our step-by-step guide (or jump onto this guide’s Frequently Asked Questions):
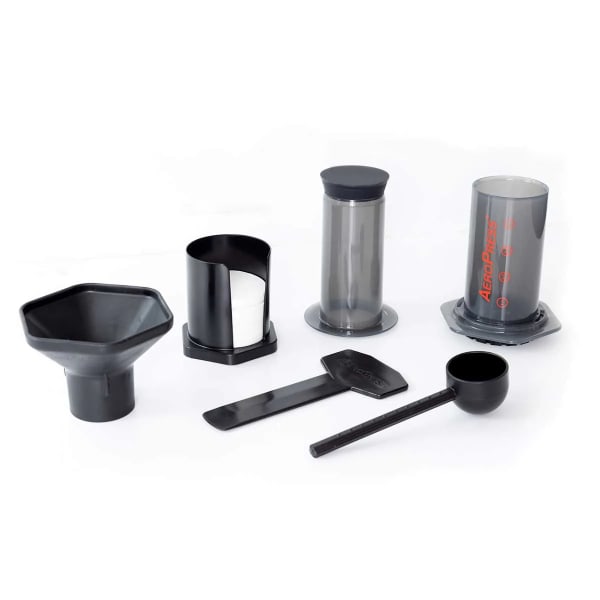
Gear
• AeroPress
• AeroPress filter (paper or metal)
• Kettle or alternative source
• Grinderℹ︎
• Scales
• Timer
• Stirring tool
• Mug
Goods
• 14g of coffee beans
• 200g of just-boiled water ♨︎
• Extra water to rinse any paper filters
ℹ︎: If you don’t have a grinder, that’s OK! You can always use pre-ground coffee, though we recommend freshly ground because it does elevate the flavour of each brew.
♨︎: In our recipes, we measure water in grams because we use scales, and it’s easy to achieve precision this way. However, if you don’t have scales, the conversion is easy: 1g=1mL.
-
Gather your pieces and place the plunger inside the main chamber of the AeroPress.
The AeroPress should balance comfortably, with the open side facing up.
-
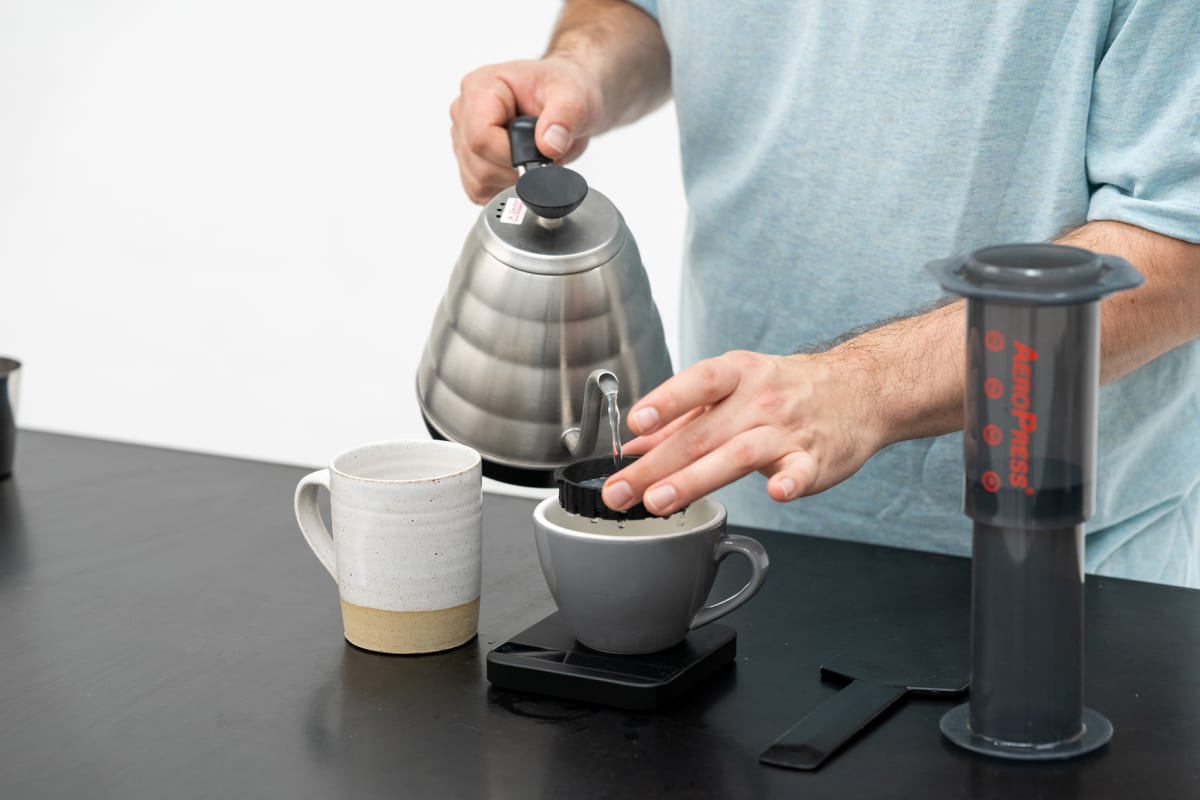
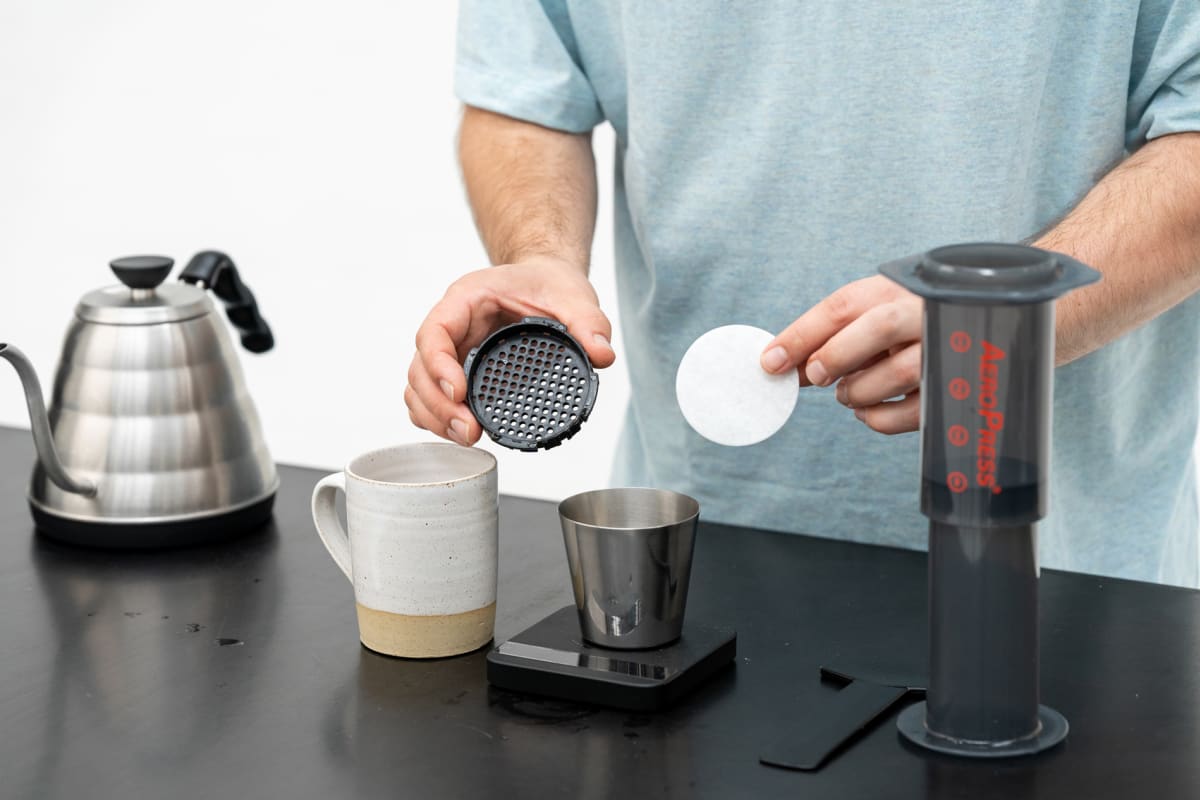
Put the paper filter into the cap, rinse and set aside.
Rinsing gets rid of the paper’s taste and helps the paper stick to the filter cap. Don’t forget to reuse your rinsing water for your plants!
-
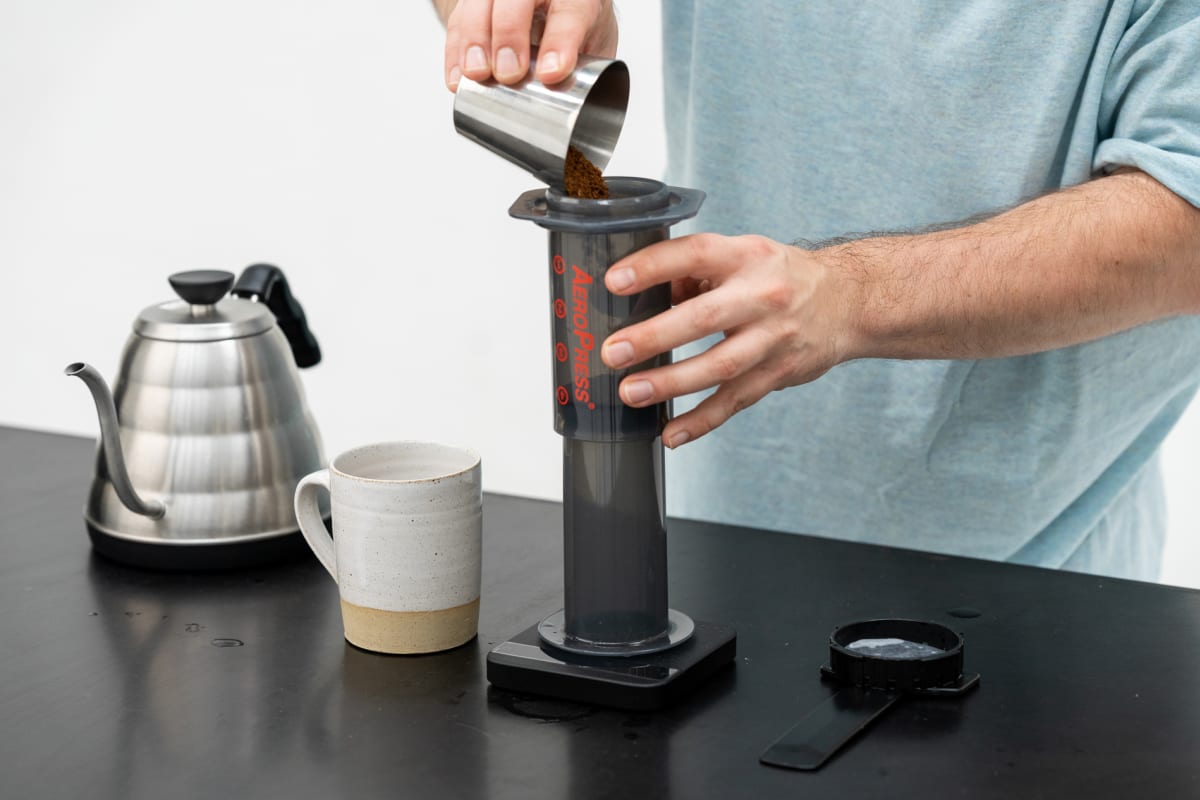
Grind 14g of coffee and place in the inverted AeroPress.
Freshly ground is always best! We use the finer side of a filter grind here.
-
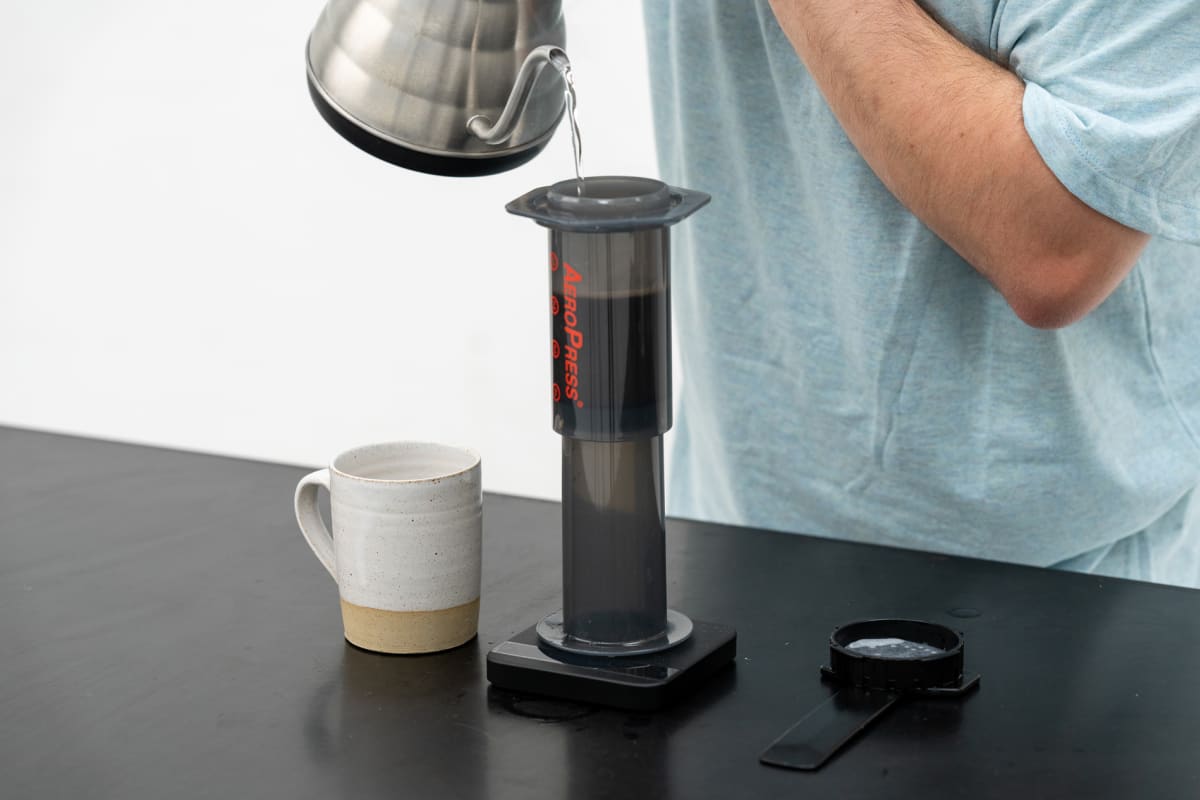
Fill up to 200g with water just off the boil, stir and attach the filter cap.
Stirring the coffee ensures all the grounds get wet.
-
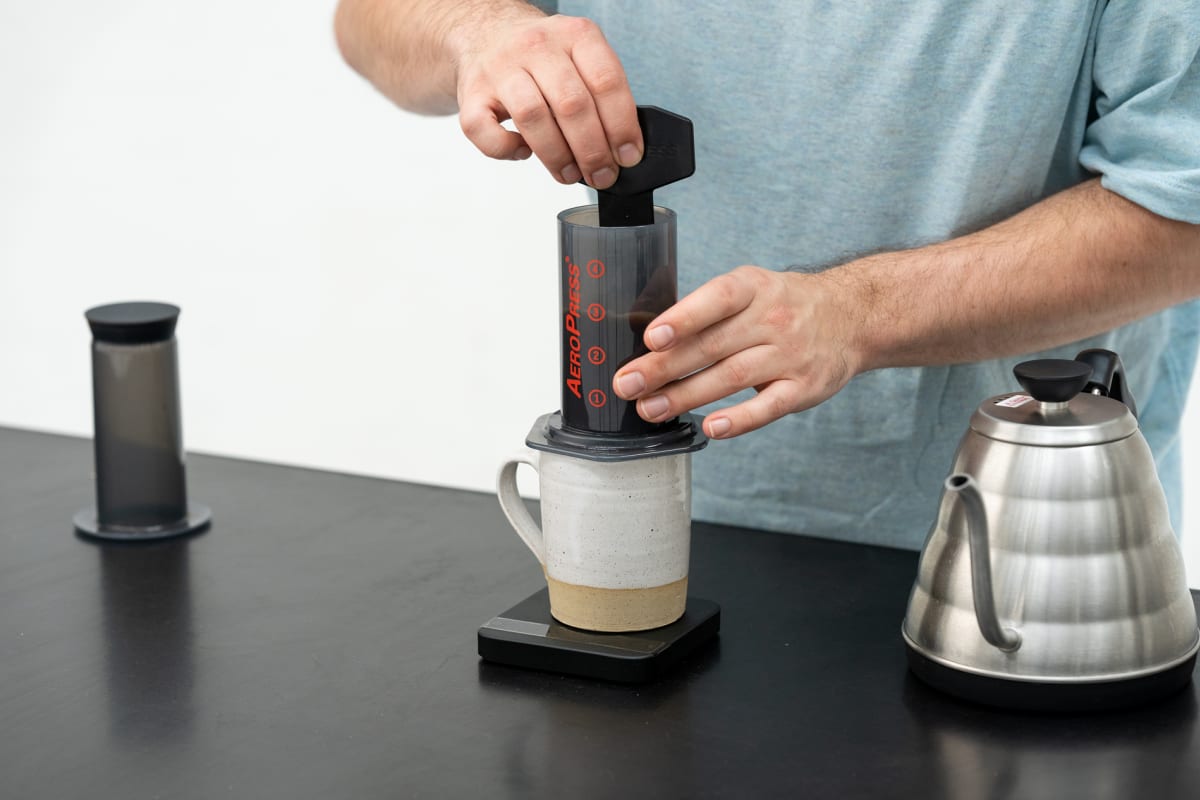
Wait for 2 minutes. Then, place your vessel on top of the inverted AeroPress and flip.
Go steady and with confidence!
-
Remove the AeroPress plunger part and give the brew a little swirl.
This helps to catch any exposed coffee grounds.
-
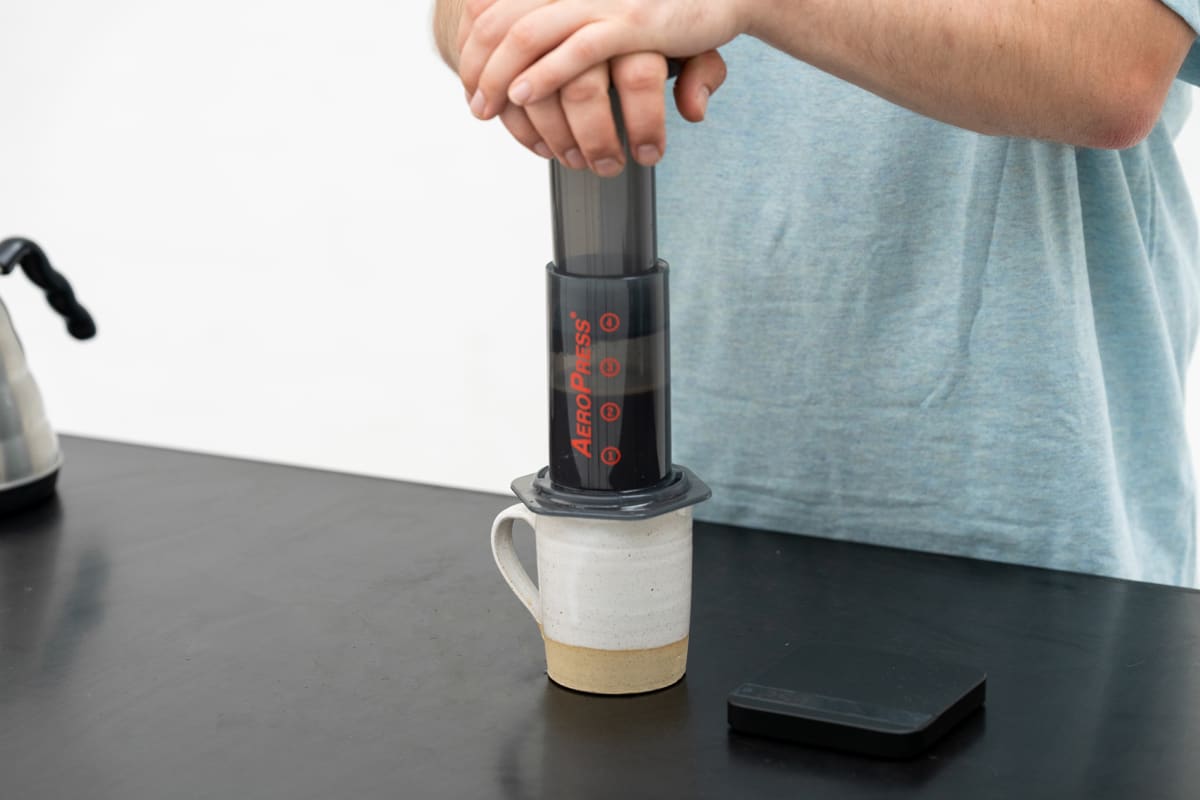
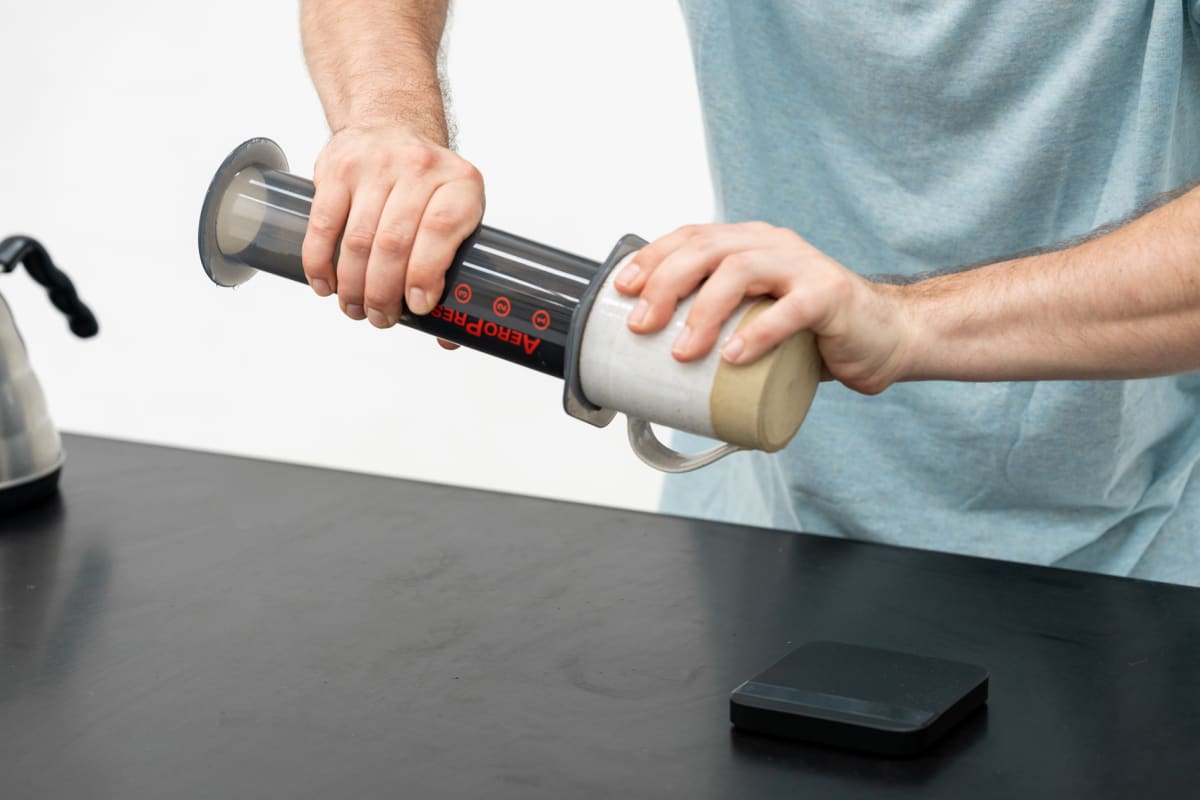
Plunge gently until you hear a hiss.
This usually takes us around 30s; a gentle plunge is a good plunge!
-
Enjoy!
If you find the flavour too strong, feel free to dilute using between 20-40g of water. If you find the coffee has a drying mouthfeel, grind it coarser. If you’re finding the coffee tastes too weak, grind finer.
And don’t forget to tell us how it went—we’d love to hear!